
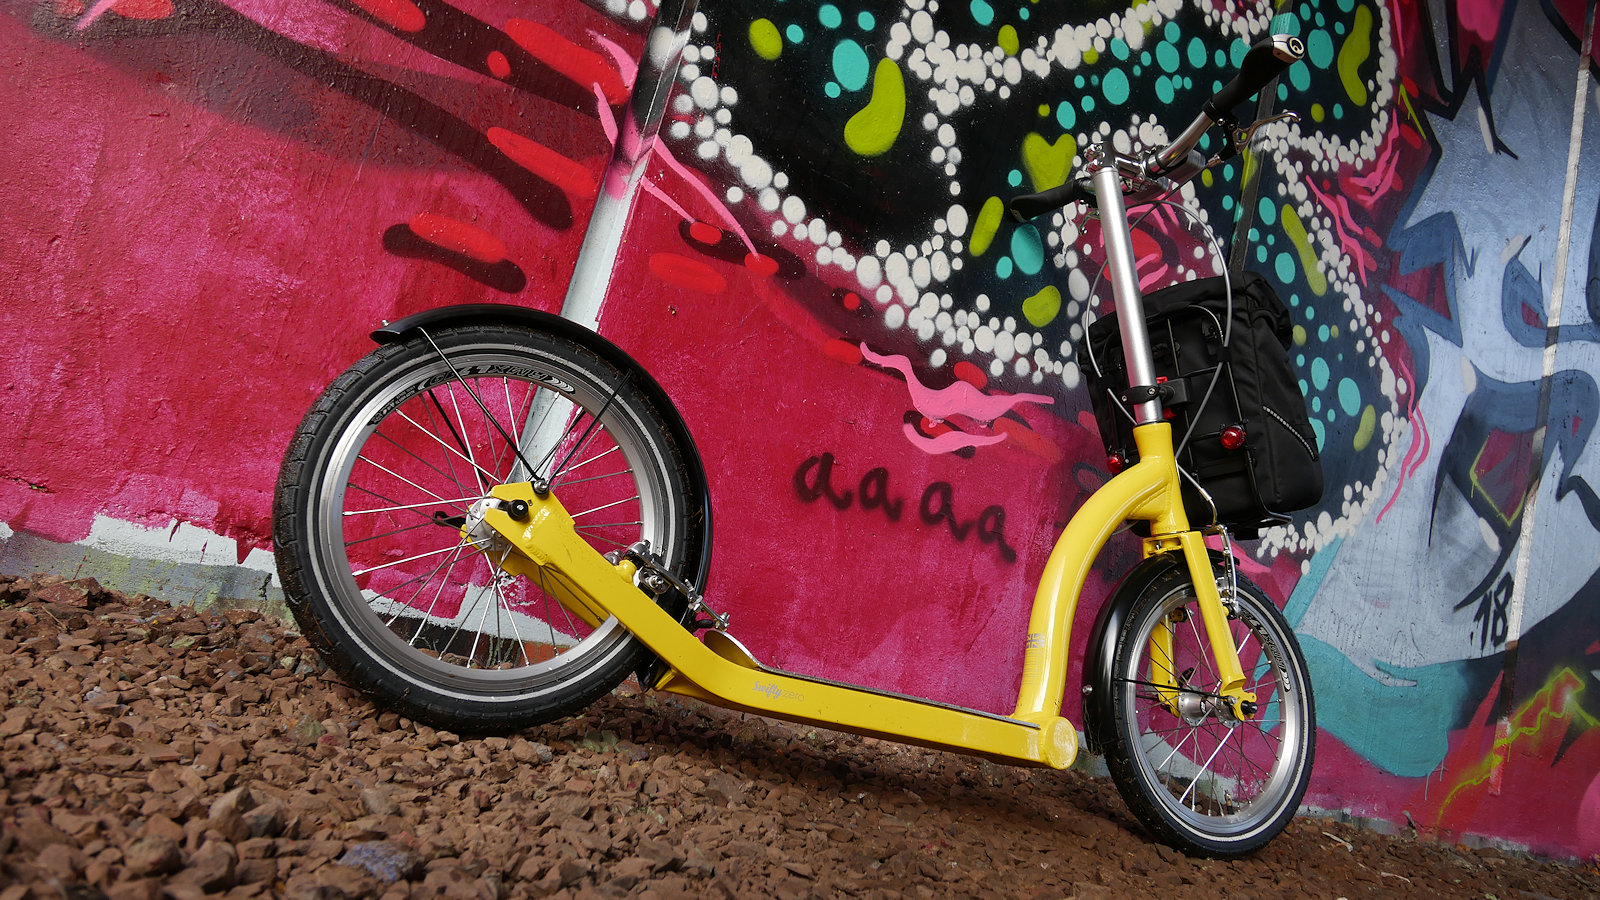
Despite their small size, the 16″ wheels on a Swifty scooter kick up a lot of stuff in wet weather including dirty water, even dirtier mud and all manner of nasty unmentionables that will remain, well, unmentionable, and a good portion of it lands on the rider. Swifty Scooters, in their wisdom, offer a solution to this problem, good old-fashioned mudguards.
Available from the Swifty website, they are proper mudguards, made from tin, like things used to be in the old days – well, actually anodised aluminium but good enough and saves weight. The kit comes will all the components you need to install them, detailed instructions and even the tools to complete the task.
My first highly recommended advice is to read the instructions carefully, then read them again. The installation is not difficult but certain parts only fit in certain places and you need to get it right. Next, lay out all the parts and check everything is there. If anything is missing an email to Swifty will soon sort that out.
The best way I’ve found to work on a Swifty scooter is to clamp it to a folding workbench. Simply open up the bench, lift the scooter on and use a couple of really big clamps to hold the scooter in place. The bench gets the scooter at a good height for working on and the clamps stop it falling off and landing on the foot. You can pick up a folding work bench online for less that £20 or try your local DIY store. The clamps are only a few pounds each.
Once ready to begin, start by removing both wheels. You will need to disconnect both brakes and may also find it easier to deflate the tyres first to get them through the brakes. Some people just remove the brake but I prefer to leave the brakes alone. Then just follow the instruction, its fairly simple. Make sure the bolts holding the stays to the mudguards and the mudguards to the frame or forks are tight as they are difficult to access once the wheels are installed. Then, fit the wheels and make sure all bolts are tight. Remember to pump up the tyres. Finally, do a road test to detect any issues or annoying rattles.
Now, a few observations. You cannot easily fit the rear wheel with the mudguard in place. You will need to remove the stay bolts from the frame first and wiggle the wheel into place. Note this should you every get a puncture out in the field. The front wheel is fine.
Also the type of supplied bolts, called “cap head”, are susceptible to being easily damaged if the head of the Allen key is not properly inserted or the Allen key itself is of the cheap and nasty variety. I replaced all by bolts with good quality stainless steel “cap head” bolts. It only cost a few pounds online and means they are less likely to fail in the future.
A few words on tyre sizes. These mudguards work fine with tyre sizes up to and including 16″ x 1.50″. They do not fit when using Maxxis Hookworm 16″ x 1.95″ and definitely not with Schwalbe Big Apple 16″ x 2.00″ Tyres in between these may or may not fit depending on the make and model of tyre and even when they do fit you should always allow some clearance between tyre and mudguard to allow debris to pass through.
Finally, these mudguards do their job well, keeping most of the muck and spray off the rider but not all. The addition of flaps at front and reach also helps but they are often more of a hinderance than a benefit. Great quality, good and strong and will last for ages if looked after, and even if not looked after. I just wish Swifty would bring out the same for the Swifty Air, as the ones they offer are not, in my opinion, up to the job.
Copyright ©2020 Gary Buckham. All rights reserved.