
Brick spotting is one of the few hobbies where you can actually participate without any additional tools, gadgets or other items of equipment, other than the good old Mark One Eyeball. However, once the glorious pastime of brick spotting grabs holds of you, there are a few small and inexpensive tools that make the task so much easier.
Many of the bricks you will come across will be facing upwards, that is with the maker’s brickmark clearly visible. Others will be face down and need turned over, some may be half buried in the ground and require some degree of force to extract them, while others may simple require a quick brush-up to reveal that important manufacturers mark.
You can, of course, do all of these tasks by hand – and that is what I originally started to do – but I soon found a couple of problems with this. First of all, it’s tough on the hands. Bricks generally have a rough texture and unless you have work-hardened hand, which I don’t, your fingers will soon be red and raw. The other problem was extracting bricks from the ground. It is not as easy as it looks. Even with half the brick protruding it can be a difficult task.
To overcome these problems and with some trial and error, I had soon gathered together a small set of useful items to assist my brick spotting. None of them costs more than a few pounds each and some you may already have to hand. They are worth carrying with you when out brick spotting, you never know when you will need and the one you don’t have is the one that will be required.
Work Gloves
Bricks are rough creatures and unless you are used to work where your hands have already toughened up, for example, working as bricklayer, you will soon find your fingers getting red and raw. A good pair of work gloves will not only protect your hands but will also allow you to apply more pressure to extract a stubborn brick. Work gloves can be bought cheaply are garden centres and DIY stores. Leather ones seem to be the better wearing and last longer.
Scrubbing Brush
As I’m not a brick collector who can clean their bricks back home, I need to sometimes clean them in the field to make the brickmarks legible for photographic recording. To do this I carry a small nailbrush which makes light work of removing soil contamination or the likes of seaweed on bricks found at the coast. Also useful, if there is none available on location, is some water to assist with cleaning. And as reflections from the wet brick hamper photography, some kitchen towels or rags for drying is also a good idea.
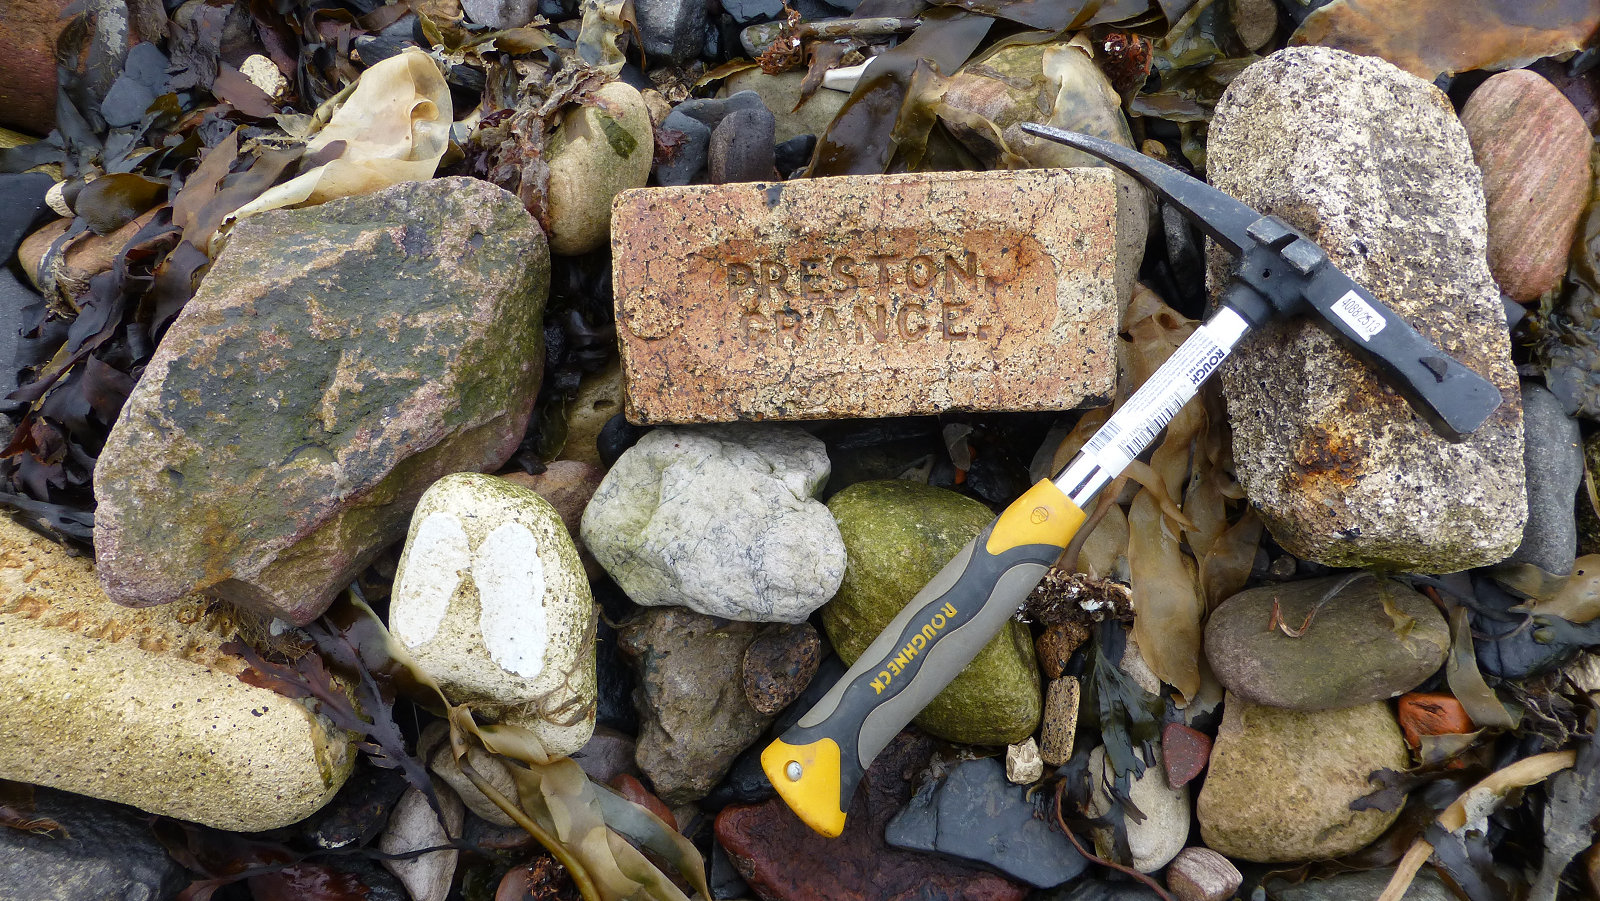
Brick Hammer
Perhaps the most useful tool a dedicated brick spotter can have is one that can be used to prise bricks from the ground, dig a brick out for whatever substrate is holding it or simply turning them over to reveal the (possible) brickmark. I’ve tried various tools but have found one that is simply the best, a good-old slaters hammer. A slaters hammer has the usual hammer end but also has a long pointed pick end on the other, ideal for prising or turning bricks over. A 16 oz. slaters hammer can be purchased for around £15.00 and are well worth the money.
Marker Pen
Some brickmarks can be very faint or shallow and difficult to photograph in the field. To get round this you can highlight the text with a thick marker pen making the text more visible. I prefer to photograph the brick in its original state first then take a photograph after highlighting to record the brickmark wording. Use a non-permanent pen which will was off in time. An alternative to a marker pen is some ordinary classroom chalk. This can be used on edge to highlight the text on the brick. Brass rubbing wax may also be used. A dark colour for light-colour bricks and a lighter colour for darker bricks.
Copyright ©2020 Gary Buckham. All rights reserved.