About this time last year, I completed a custom paint job on a Reynolds 853 framed Genesis Day One. The final bike became known as Harley Quinn, so named after all the bright colours I choose at the time. However, the colours have faded considerably, the bike has accumulated lots of chips and scratches, so now that we have some nice warm weather, I decided to start again from scratch.
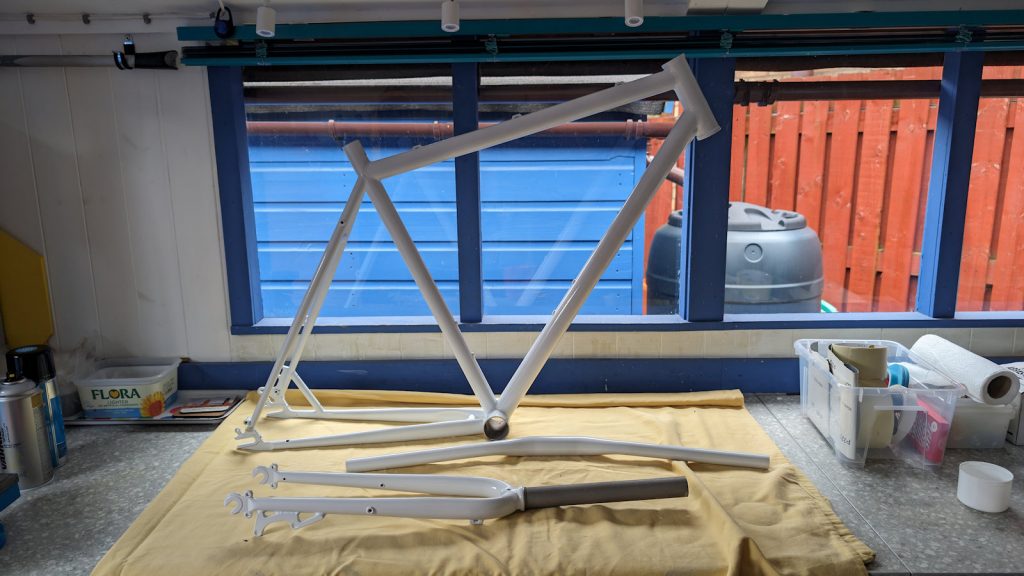
This time round I’ve gone for a glossy white powder coat finish to the frame and forks, the work completed at Pentland Powder Coating in Bonnyrigg, for the cost of £65.00. I also got the handlebars done at the same time, though I may not use them in favour of a new set of straight handlebars from Alpkit. The initial job was poorly done, with the edges of the headset, bottom bracket and seat tube all a mess or flaking off. There was also a loose flake of paint on the main frame tube. However, fair dues to Pentland, I returned the frame and they corrected the issues by that afternoon.
Next, the wheels. As you cannot get fully assembled wheels powder coated, I stripped these down with a hot air gun, rubbed them down and applied the remaining primer I had left over from previous projects. I had just enough spray primer for the two wheels, though it was a close thing.
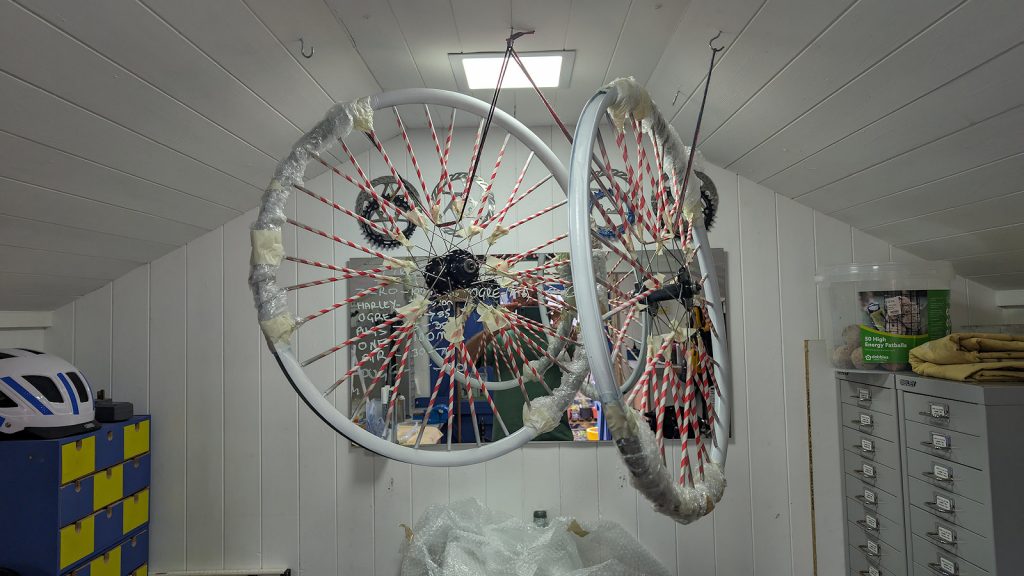
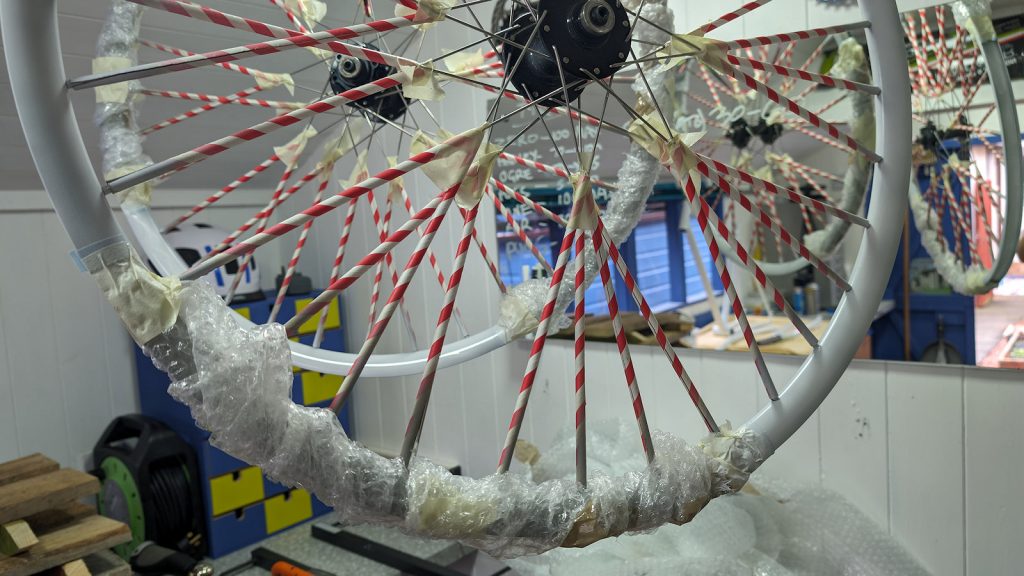
Now, a tip about masking wheels for spray painting. Thinking long and hard I came up with the idea of using paper straws to protect the spokes. Bought these at the local Co-Op and used scissors to split them lengthwise. To protect the spoke nipples, I used a tiny piece of masking tape then slipped the straws over the spokes. Finally, as the straws were a loose fit and resting on the actual rims, I pulled them a few millimetres towards the wheel hub and held them in place with masking tape. Should be easy enough to remove all and keep for the next project.
With the wheels primed for painting, I had a decision to make. Should I go entirely for black, or a combination of black and white panels? And what sequence of panels? You could have half the rim in black with the other in white. Or go for quarters, two in white and two in black, alternating between the two colours. Or even eighths, with eight white sections and eight black sections, again alternating between the colours. I’m thinking quarters at the moment, nice effect and less work.
To support the wheel while painting, I used my bike maintenance stand. First, I located a short length of timber and hammered a large nail into the end, chopping off the nail head with a hacksaw. This was then clamped into the maintenance stand head. To mount the wheel, I removed the hub bolts (you may have axles or QR pins) and slipped it over the nail. This setup allows you to easily spin the wheel while spraying. Note, be careful not to over-spray the hub. After spraying the wheels were hung up in the shed to dry between coats. To protect the rims from overspray I used the bubble wrap that was used to protect the frame after powder coating. More soon.
Copyright ©2024 Gary Buckham. All rights reserved.